应小伙伴要求出个🌸 🍐 🦊 🔥
ps:好久没动博客了,以后要勤奋记录一些东西才好😑
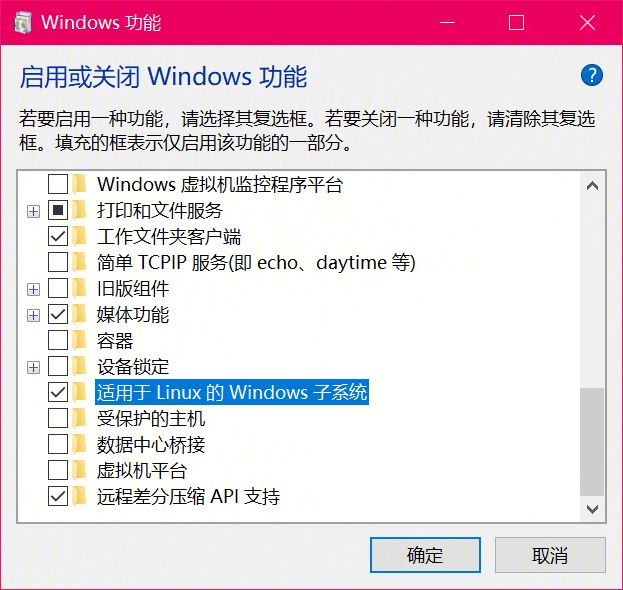
1.启用WSL,从Win10商店下载你要安装的Linux子系统发行版(本文是Ubuntu 18.04.5 LTS)并启动一次配置下基本的东西(密码,软件源啥的)
2.字体
ubuntu-font-family
解压后右键安装
3.终端软件
WSL-terminal
下载zip或者7z解压到一个地方保存即可,点击open-wsl.exe应该会出现
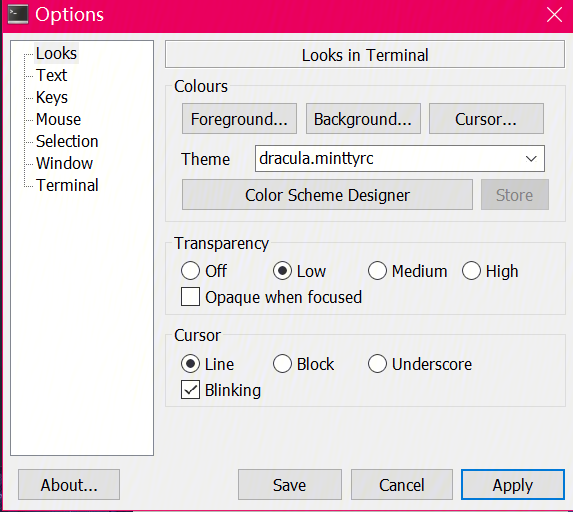
下载这个主题Dracula \wsl-terminal\etc\themes\文件夹下
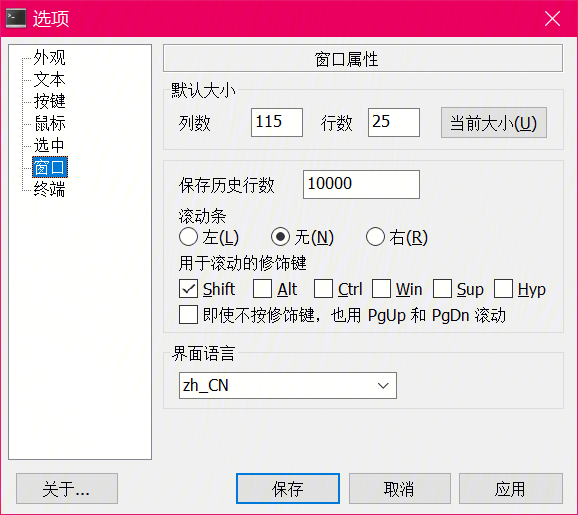
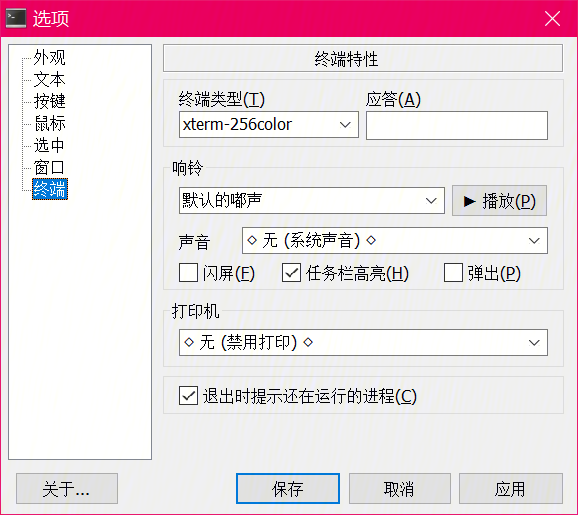
在窗口右键-options打开设置:
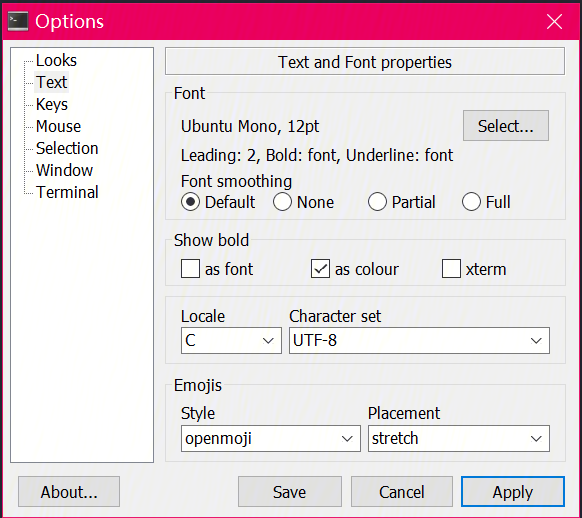
应用和字体,再做一些调整,看图:
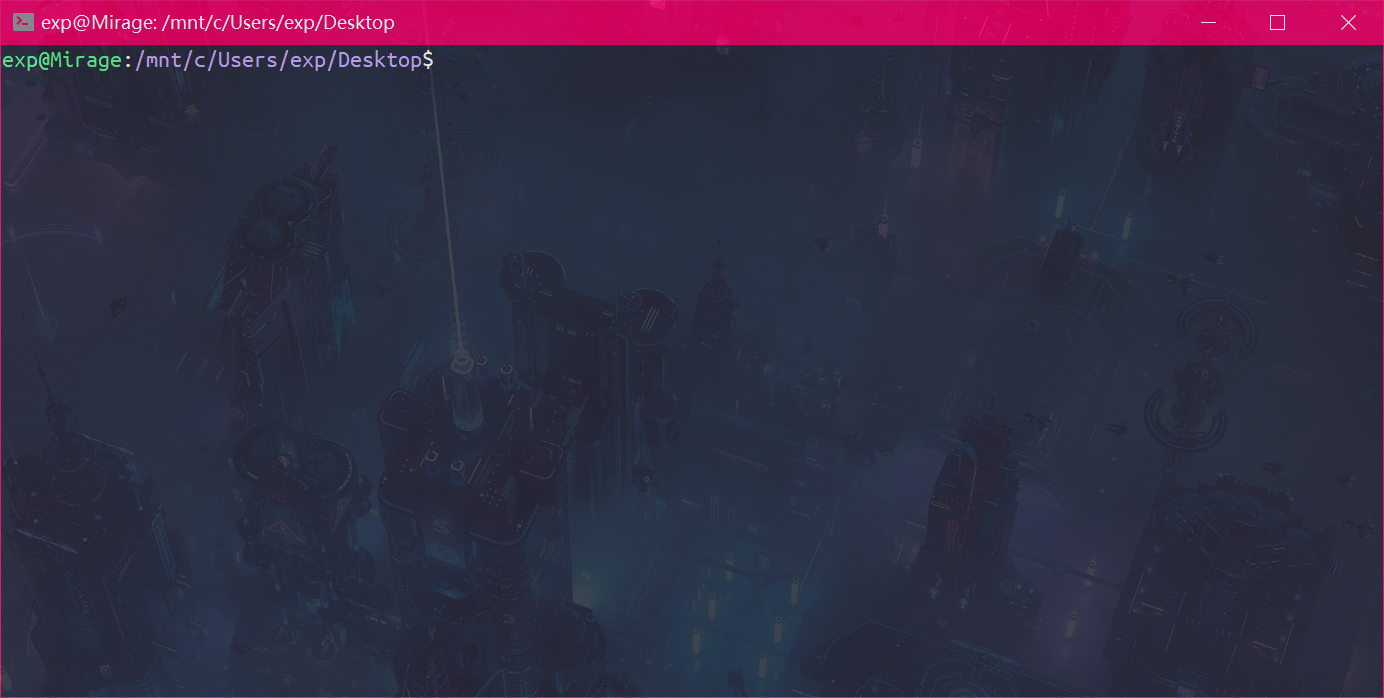
然后应该长这样:
在这个目录下\wsl-terminal\tools有一些脚本,我用的就一个1-add-open-wsl-terminal-here-menu.js,双击运行,右键菜单下多出一个条目:
中文是脚本执行完后改注册表(改脚本好像会中文乱码):
位置
HKCU\Software\Classes\Directory\shell\open-wsl\
和
HKCU\Software\Classes\Directory\Background\shell\open-wsl\
把Open wsl-terminal Here改成在此打开终端就OK
如果下图第二条路径不对,再运行一遍js,再改
在完成子系统初始设置(更新、语言啥的)之后安装,zsh和curl
1 sudo apt install zsh curl
然后是ohmyz.sh
1 sh -c "$(curl -fsSL https://raw.github.com/ohmyzsh/ohmyzsh/master/tools/install.sh) "
可能会需要代理(看文末),运行完后应该有个比较美观的终端了.
会发现运行此终端启动的还是bash…
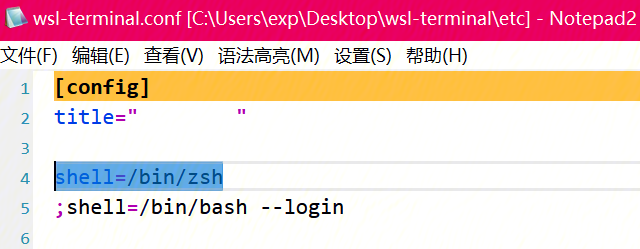
得把它改成默认启动zsh,直接改配置文件wsl-terminal\etc\wsl-terminal.conf
把shell=/bin/bash改成shell=/bin/zsh
现在默认运行zsh
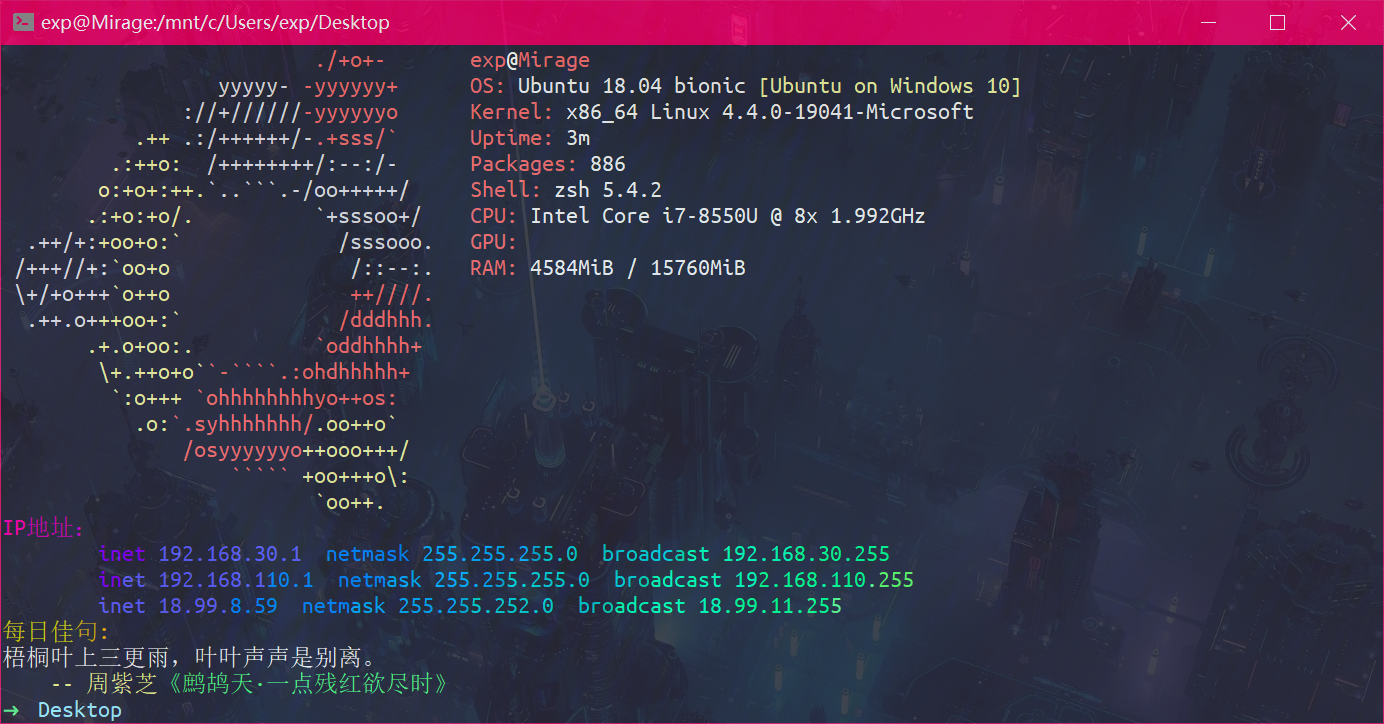
最后一点,启动shell的时候显示一些信息(比如ip),需要修改子系统内~/.zshrc 脚本文件,在最后追加上你想启动时执行的shell命令即可,比如:
1
2
echo "IP地址:" | lolcatifconfig | grep "broadcast" | lolcat
上面ifconfig命令输出ip地址,在net-tools软件包内;lol用来输出渐变色:
1 sudo apt install lolcat net-tools
最后贴上我的.zshrc自己加的末尾部分
1
2
3
4
5
6
7
8
9
10
11
12
13
14
15
16
17
18
19
20
21
22
23
24
25
26
27
28
29
30
31
32
33
34
35
36
37
38
39
40
41
42
43
44
45
46
47
48
49
50
51
52
53
54
55
56
57
58
59
60
61
62
63
64
65
66
alias apt="sudo apt" alias pgit="sudo proxychains git" alias open="cmdtool wcmd explorer" alias http="python3 -m http.server 80" alias sqlmap="python3 /mnt/a/sqlmap-dev/sqlmap.py" getIp export PROXY_SOCKS5="socks5://127.0.0.1:1088" export PROXY_HTTP="http://127.0.0.1:1088" echo "IP地址:" | lolcat ifconfig | grep "broadcast" | lolcat } getIpV2 export winip=$(ip route | grep default | awk '{print $3}' ) export wslip=$(hostname -I | awk '{print $1}' ) export PROXY_SOCKS5="socks5://${winip} :1088" export PROXY_HTTP="http://${winip} :1088" echo "WSL:${wslip} " echo "Windows:${winip} " } proxy export http_proxy="${PROXY_HTTP} " export HTTP_PROXY="${PROXY_HTTP} " export https_proxy="${PROXY_HTTP} " export HTTPS_PROXY="${PROXY_HTTP} " export ftp_proxy="${PROXY_HTTP} " export FTP_PROXY="${PROXY_HTTP} " export rsync_proxy="${PROXY_HTTP} " export RSYNC_PROXY="${PROXY_HTTP} " export ALL_PROXY="${PROXY_SOCKS5} " export all_proxy="${PROXY_SOCKS5} " } noproxy unset http_proxy unset HTTP_PROXY unset https_proxy unset HTTPS_PROXY unset ftp_proxy unset FTP_PROXY unset rsync_proxy unset RSYNC_PROXY unset ALL_PROXY unset all_proxy } export LANGUAGE=zh_CN.UTF-8export LANG=zh_CN.UTF-8export LC_ALL=zh_CN.UTF-8export TERM=xterm-256colorexport ZSH_AUTOSUGGEST_HIGHLIGHT_STYLE="fg=blue" getIp
oh-my-zsh有好多好用的插件,安装可以参考这篇教程
配置-oh-my-zsh
我用的这些:
1 plugins=(git zsh-autosuggestions extract z zsh-syntax-highlighting)
ps:太多插件好像会拖慢终端速度😅
换完了✌
2021.2.26
WSL shell启动慢可能是因为nvm,如果装了
2022.1.5
如果下载ohmyzsh的时候下不下来,可以临时使用代理,重进shell失效
1
2
3
4
5
6
7
8
9
10
11
12
export PROXY_SOCKS5="socks5://127.0.0.1:1088" export PROXY_HTTP="http://127.0.0.1:1088" export http_proxy="${PROXY_HTTP} " export HTTP_PROXY="${PROXY_HTTP} " export https_proxy="${PROXY_HTTP} " export HTTPS_PROXY="${PROXY_HTTP} " export ftp_proxy="${PROXY_HTTP} " export FTP_PROXY="${PROXY_HTTP} " export rsync_proxy="${PROXY_HTTP} " export RSYNC_PROXY="${PROXY_HTTP} " export ALL_PROXY="${PROXY_SOCKS5} " export all_proxy="${PROXY_SOCKS5} "
参考这篇文章